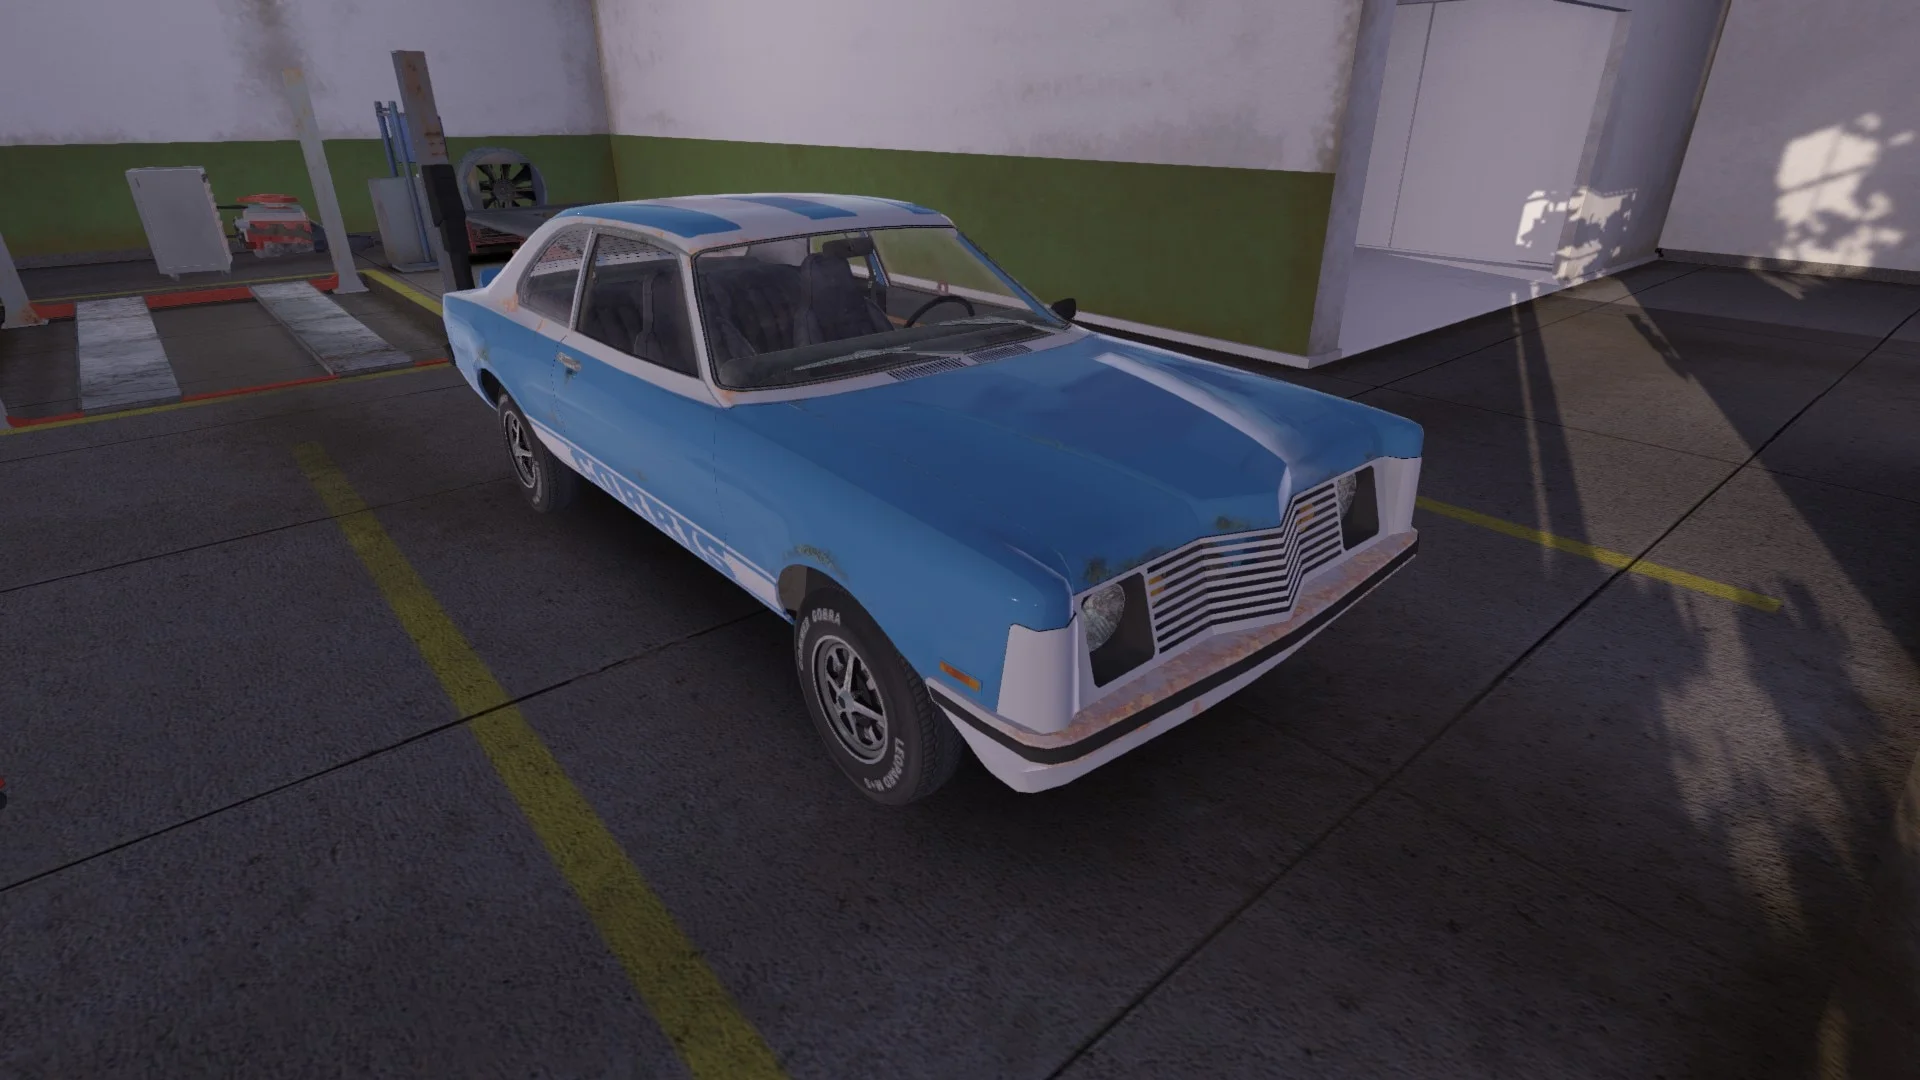
Custom Paint Guide
The v.260117-03 update introduced custom paint jobs to My Winter Car. You can now create unique liveries for your Corris Rivett using the official PSD template. This guide covers everything from downloading the template to applying your design in-game.
New Feature
What is Custom Paint?
Custom paint is a feature that allows you to replace the default vehicle texture with your own design. Using the provided PSD template, you can create racing liveries, company logos, or any design you want.
- • Full vehicle customization
- • All body parts paintable
- • UV-mapped template included
- • Adobe Photoshop (best)
- • GIMP (free)
- • Paint.NET (free)
PSD Template
The game includes an official PSD template that shows the UV layout of all paintable surfaces. You need image editing software that supports PSD files.
The PSD template is included with your game installation. No separate download needed.
File path:
Steam\steamapps\common\My Winter Car\My Winter Car_Data\StreamingAssets\Templates\CustomPaint.psdPro Tip
Template Structure
The PSD file contains multiple layers to help you understand the UV mapping:
- ●Base Color: The primary color layer for your design
- ●UV Guide: Reference layer showing part locations (hide before export)
- ●Paint Layer: Your custom design goes here
Paint Process
Follow these steps to create and apply your custom paint job:
Download Template
Locate the CustomPaint.psd file in your game's StreamingAssets/Templates folder. Copy it to a safe location for editing.
Edit Design
Open the PSD in your image editor. Use the UV guide layer to understand where each part is mapped. Create your design on a new layer.
Export as PNG
Hide the UV guide layer. Export your design as CustomPaint.png (PNG format, same dimensions as template).
Apply In-Game
Place the CustomPaint.png file in the Templates folder. Start the game - your custom paint will be automatically applied.
File Requirements
.PNG
CustomPaint.png
Steam\steamapps\common\My Winter Car\My Winter Car_Data\StreamingAssets\Templates\CustomPaint.pngImportant
Paintable Parts
The following car parts can receive custom paint. All body kit parts added in v.260117-03 are also paintable:
| Part | Template Area | Source |
|---|---|---|
| Body Panels | Body panels | Spawn |
| Hood | Hood area | Spawn |
| Trunk Lid | Trunk area | Spawn |
| Fender Flares | Fender sections | Fleetari |
| Hubcaps | Wheel covers | Fleetari |
| Bumpers | Bumper sections | Fleetari |
| Side Skirts | Side panels | Fleetari |
| Rear Spoiler | Rear spoiler | Fleetari |
Parts from Fleetari may require purchase before they can be painted.
FAQ
My custom paint doesn't show up?
Check: 1) File is named exactly 'CustomPaint.png', 2) File is in the correct Templates folder, 3) PNG format (not JPG or PSD), 4) Restart the game after adding the file.
The texture looks stretched or distorted?
Make sure you're painting within the UV guide boundaries. Each part has a specific area on the template - painting outside these areas will cause distortion.
How do I reset to default paint?
Simply delete or rename the CustomPaint.png file from the Templates folder. The game will revert to the default texture.
Can I have multiple paint designs?
Not simultaneously. You can save multiple PNG files with different names and rename the one you want to use to 'CustomPaint.png' when needed.
Tips & Tricks
Start with simple designs. Solid colors and basic patterns are easier to align with the UV map than complex graphics.
Test your design frequently. Make small changes, export, and check in-game to understand how the UV mapping works.
Use the UV guide layer wisely. Keep it visible while designing but remember to hide it before exporting your final PNG.